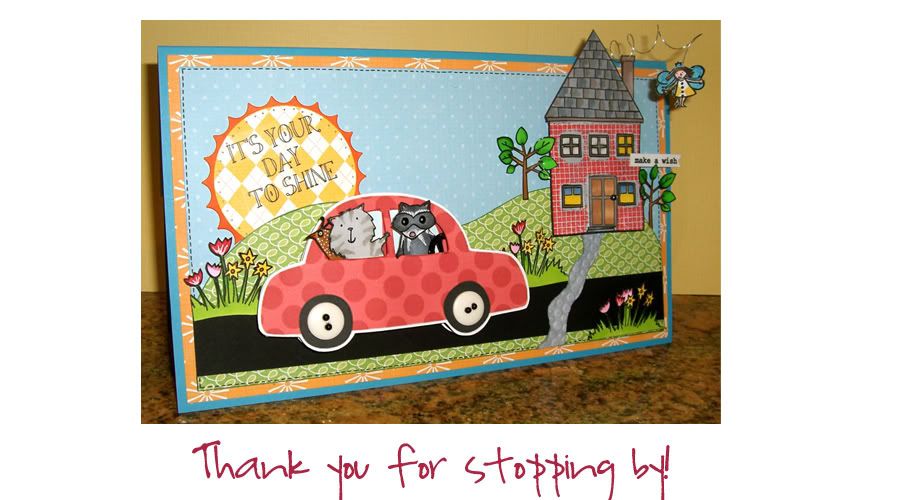

I had so much fun creating this card. I added a smile on the deers faces and some make up. (I don't leave home without it ...ha) Anyway I did some speed coloring on this card and added shading with distress inks. This card was created for a very special lady, Linda OZ, who is recovering from cancer. Linda is a hoot and talented beyond words. I think the hardest part of her recovery is the use of her arms. She doesn't have the same mobility therefore,she can't really craft. I hope this changes because she is wickedly talented. Linda told me two baby deer visit her daily to have a nibble. If you want more info you can refer to this thread that sweet Charlene posted. Oz thinks of Halloween as a year round holiday :)

I have created several cards with this stamp and will share them on a later date. I have to say this is one stamp to purchase before they sell out and when you see my other cards you will see how versatile this stamp really is.

To speed color with your Copic markers just color randomly with a few browns using the shading in the stamp as your guide. Don't worry about blending ... The paper does help and the distress inks will make it all come together. I also used this X-press it paper. I have been referring to this book a LOT and I find it to be a time saver selecting my colors.

I outlined the images and cut off the antlers. The Copic colors I used are:
Brown's (E00, E33, E31) Green's (YG25, YG03) Check color RV10 and Blue B00

This was a speedy background to color too. You can even see the lines in my "coloring" most of it will be covered up and the distress ink will add my shading. Just use a pencil to draw to hills, color the background with blue, the hills with any green. Adding some black lines makes the hills stand out. Add some distress ink to the sky and the grass with a dauber. I have different daubers for my green's, blues, browns etc. the nice thing is the daubers usually already have enough color on them so I don't have to get out the inks. Click here to see my dauber storage solution.

Use any brown distress inks to the deers focusing on the outside edges. A dauber works best and when you are satisfied outline the images and draw a smile on both deer . Add some blue and some stickles for eye shadow. Copic RV10 on her cheek and then I added some pick Tombow on top of the copic coloring. Use a gel pen for accents on the backs of the baby deer. I used this hemp twine to tie a nice big bow around her neck. Add some Glossy Accents to the eye then stand back to smile.

The background is one of the new stamps from Penny Black you will find it's in my supply list. Just stamp the corners and color in with the gel pen for a tiny accent. I think the Spellbinder "Wonky Rectangles" is great for happy whimsical cards. Thanks for stopping and I hope you have a great day. Hugs, Kathy
SUPPLIES: