Hello Friends,
Welcome to Simon Says Stamp SPRING 2014 RELEASE BLOG HOP! If you want to stop at the beginning of the hop go to the
Simon Says Stamp blog. If you are arriving from the crazy talented
Debbie Hughes blog you are in the right place.
Simon Says Stamps 2014 release is just brimming with beautiful, adorable, fun and versatile goodies. Also in the new release is FIVE NEW & exciting INK COLORS and coordinating cardstock to compliment the 14 colors that Simon launched at the end of 2013.
I created three cards for this hop and will have more to share in the next few weeks.
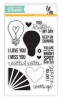
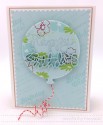
I fell in love with this beautifully
round balloon and the new pastel card stocks and inks....yes...swoon! Below is a mini tutorial with a few tips. The
"Happy Birthday" die cut was manipulated easily to form a curve to fit the curves of the balloon.
1. stack 4 or 5 "birthday" die cuts with
dots of glossy accents. 2. use a tool to remove any bits of glossy accents from the sides and to help line up the letters. 3. BEND the birthday, glue to hold in place. 4. die cut the "happy" on
masking paper or tape. 5. stamp
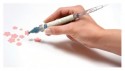
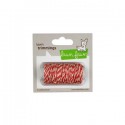
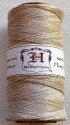
flowers 6. remove mask 7. add a little glossy accents on
twine, let dry, wrap around a brush 8. add glitter 9. stamp background and assemble card.
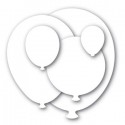
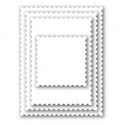
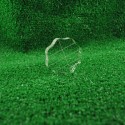
The
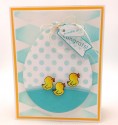
balloon dies in this new release have FIVE sizes in the set ranging from large to small, round to oblong. I flipped the balloon upside down for a take on a balloon filled with water . Three of the calming, beautiful new cardstock colors I used for the water.
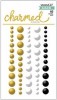
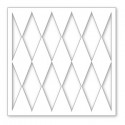
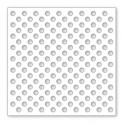
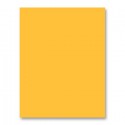
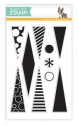
1. use a dauber to ink the
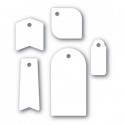
dot stencil with sea glass ink. (paper is held down with washi tape) 2. use the rounded edge to layer three cardstock colors. 3. die cut
tags and stamp. 4. mount tags on cardstock, trim & tie on balloon. 5. apply sea glass ink using a dauber with a light hand for a faded look on your background with
this stencil. 6. hard to cover this background up. 7. color
ducks 8. add a white dash on the bill of the duck & wink of stella glitter pen/marker. 9. add glossy accents
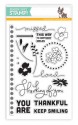
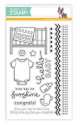
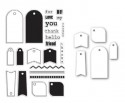
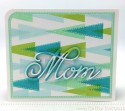
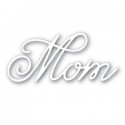
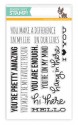
Stamping a random background with beautiful inks makes me happy and it's super therapeutic! A multi layered
word die adds that something special to your card.
1. start with your darkest color of ink. BE SURE TO WIPE UP between your stamping so you don't get ink stains on the back of your card. 2. add two more medium colors randomly stamping. 3. add the lightest color going the opposite direction. 4. add white stitching to SOME of the colors. 5. die cut the word 6 times. 6. add tiny dots of glossy accents to adhere each layer. 7. die cut your background & add to the top of
"mom". 8. stamp in inside of the card. 8. stamp the sentiment with white chalk ink.
Just had to share a close up. ALL SUPPLIES to my cards you will find at the bottom of my post.
Simon Says Stamp will be giving away a goody bag to one commenter on every blog in the hop. That's 17 different chances to win!
The giveaways for the goody bags will close at 6:00pm EST on Thursday February 27, 2014. A complete winners list will be posted on the
Simon blog on Friday February 28, 2014.
It's time to hop to one of my stamping idols ....
Laura Bassen's blog. Thanks for hopping along with us today and best of luck. Hugs, Kathy
SUPPLIES FOR CARD NUMBER ONE:
SUPPLIES FOR CARD NUMBER TWO:
SUPPLIES FOR CARD NUMBER THREE: